Follow the steps below to install and adjust a SnapPlate front license plate mount on a Gen1 (2012-Mar 2016) Tesla Model S with a black nosecone. We're here to help if you have questions or get stuck!
Tesla Model S (Gen1) SnapPlate Instruction Guide
Installation Steps ➥
-
![Three metal wall brackets with multiple holes for mounting are arranged horizontally on a white background.]()
Step 1
Plate mounts are shipped in the center position by default. If you prefer a different position, follow the Plate Height Adjustment instructions ☝️ to adjust before continuing.
-
![A person holds a screwdriver near a license plate frame labeled California Snapplate with everyamp.com below.]()
Step 2
Install your license plate using four of the included black or silver torx security screws.
-
![Hands holding a black plastic mount with adjustable knobs and a T-shaped bracket.]()
Step 3
Press and hold the right button to rotate the latches open.
-
![A hand pointing at a mounting bracket behind a California sample license plate on a vehicle bumper.]()
Step 4
Insert SnapPlate into the center of the grille and release the right button.
-
![A hand with a pink nail pushes a button next to a California license plate attached to a black textured surface.]()
Step 5
Important! Press the left button to rotate the latches closed and engage the magnets.
-
![A close-up of a SNAPPLATE license plate holder attached to a vehicle bumper, featuring a white California license plate with red and black text.]()
Step 6
Check that the left button is flush with the body to confirm that the latches are fully closed.
-
![Close-up of hands using a screwdriver to attach a black rectangular component to a honeycomb-patterned structure.]()
Step 7
Optionally, install a black anti-theft security screw in the hole near the left button.
Note: If the screw doesn't reach, make sure the latches are fully closed from Step 5. -
![A person inserts a rectangular black bracket into a grille-like surface, holding the edge with their hand against a white background.]()
Step 8
Don't forget to remove SnapPlates for automated car washes. Most touchless washes are fine, but better to be on the safe side!


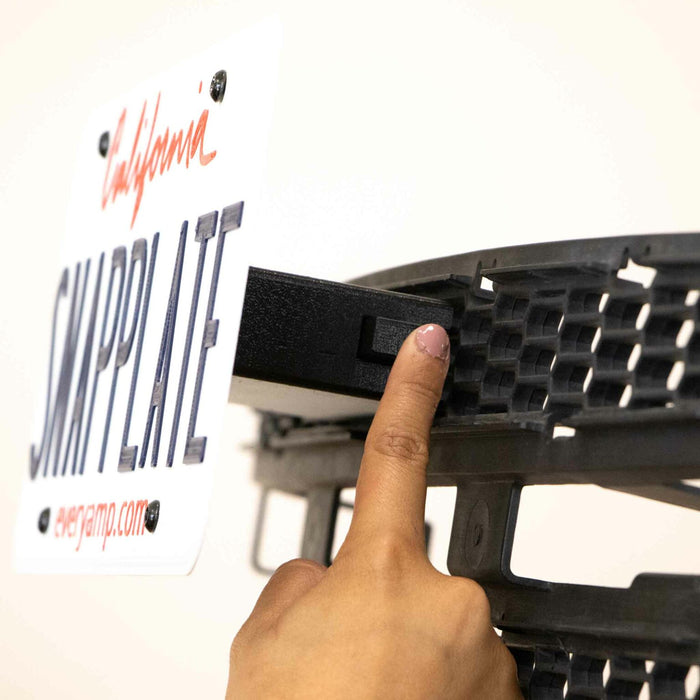
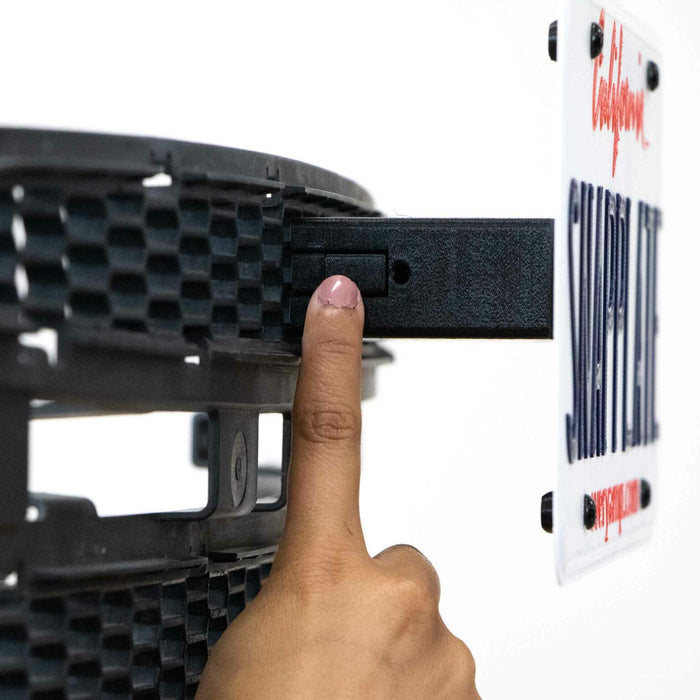
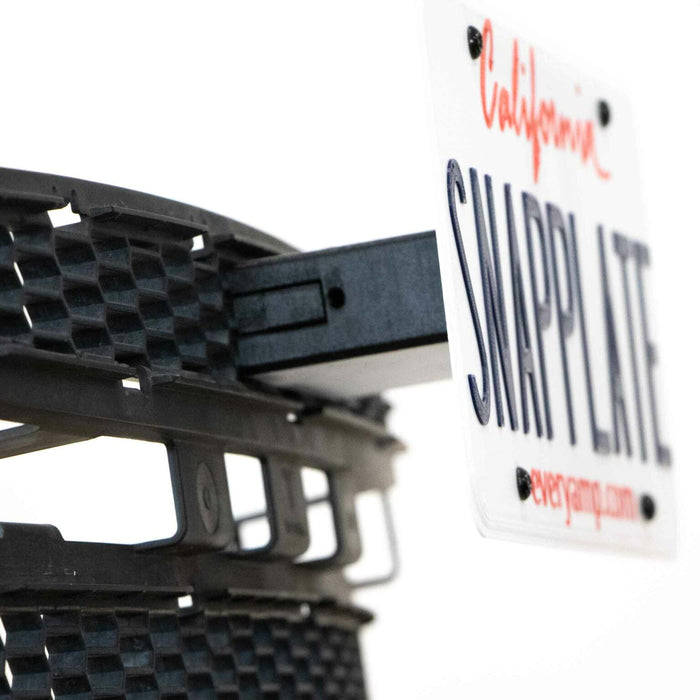
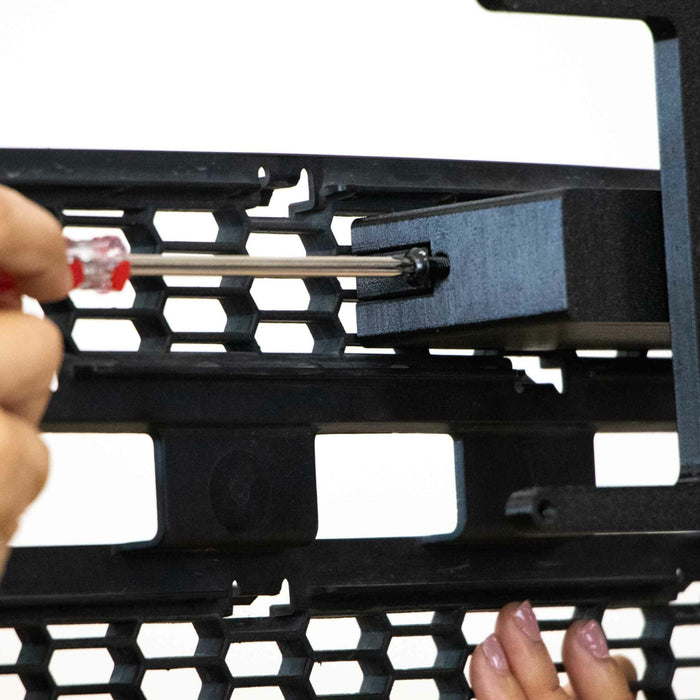
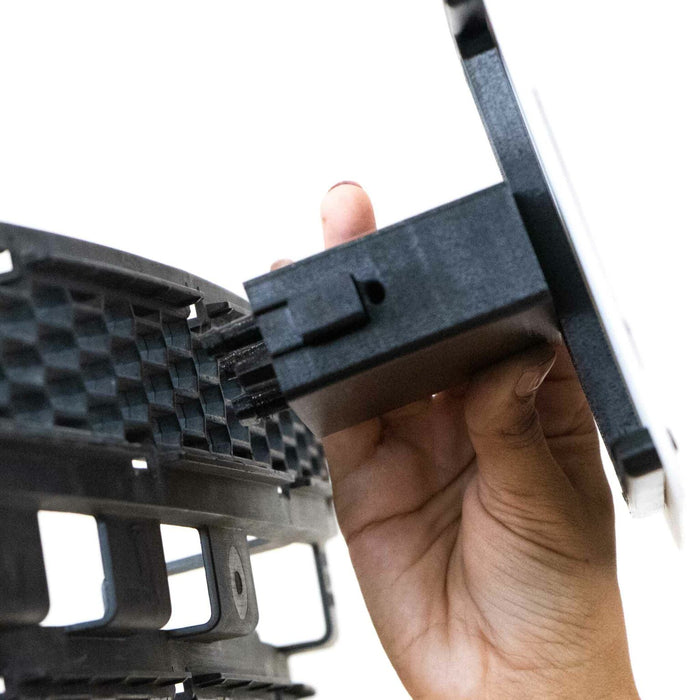
Plate Height Adjustment Steps ➥
-
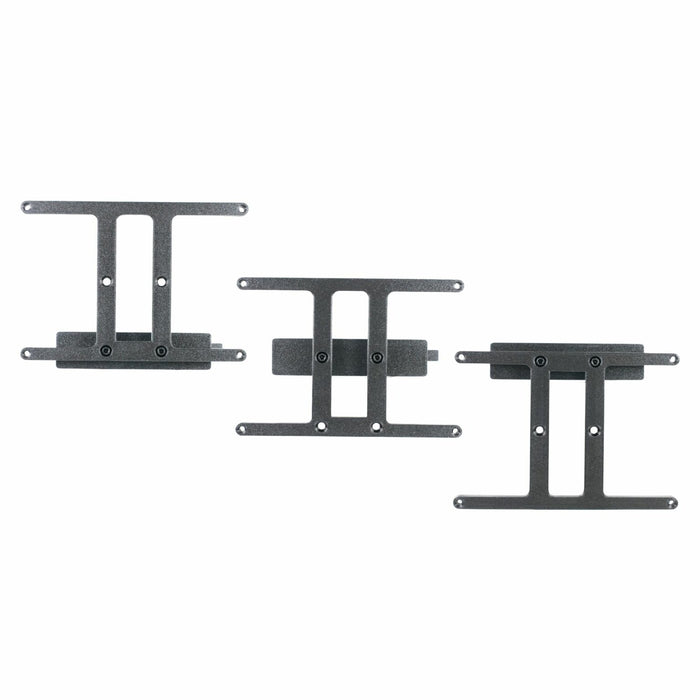
![Three black metal wall mount brackets for TVs, displayed at different angles on a white background.]()
Step 1
This SnapPlate ships in the center position by default, but is adjustable into 3 possible positions.
We recommend center for the best aesthetics. -
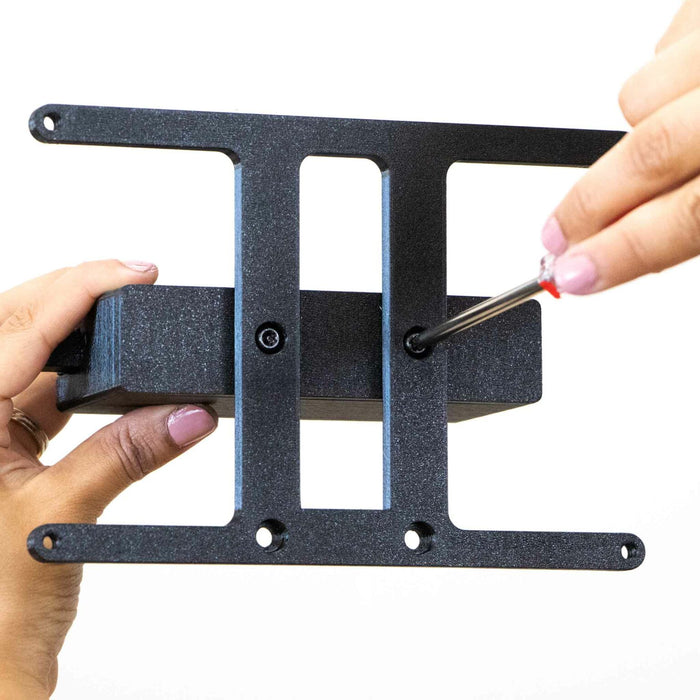
![A person uses a screwdriver to adjust or assemble a black metal bracket with four mounting holes against a white background.]()
Step 2
Remove the two screws holding the plate mount to the body.
For installation in the high position go to Step 3.
For installation in the center position go to Step 4.
For installation in the low position go to Step 5. -
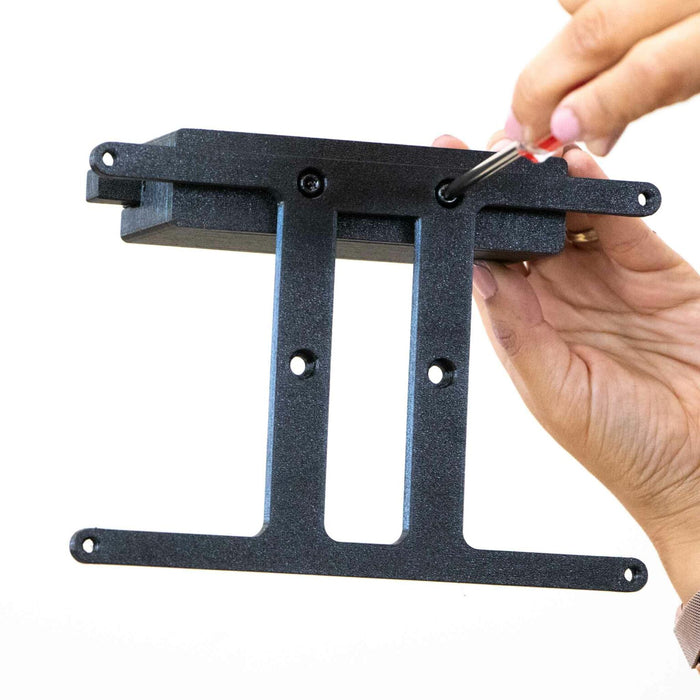
![Hands assembling a black metal bracket with a screwdriver against a white background.]()
Step 3 (High)
With the SnapPlate logo on the base facing up, position the plate mount with the bottom holes lined up with the holes in the body and install screws.
- Go to Step 6
-
![Hands using a screwdriver to secure a black metal bracket.]()
Step 4 (Center)
With the SnapPlate logo on the base facing up, position the plate mount with center holes aligned with the holes in the base and install screws.
- Go to Step 6
-
![Hands using a screwdriver to assemble a black metal bracket with pre-drilled holes for mounting, against a white background.]()
Step 5 (Low)
With the SnapPlate logo on the base facing up, rotate the plate mount to position the plate mount with the top holes lined up with the holes in the body and install screws.
- Go to Step 6
-
![Person installing a Snapplate with a screwdriver, featuring the text California Snapplate and everyamp.com on a white background.]()
Step 6
If not already installed, install the license plate using four of the included black or silver security screws.