Follow the steps below to install and adjust a SnapPlate front license plate mount on a 2027 Rivian R2. We're here to help if you have questions or get stuck!
Rivian R2 SnapPlate Instruction Guide
Installation Steps ➥
-
![SnapPlate T10/T25 Screwdriver]()
Step 1
Insert the T10/T25 bit in the screwdriver handle with the larger T25 bit facing out.
Note: If it's already installed with the T10 bit facing out, grab the bit and pull it out of the handle to flip it around. -
![A black rectangular license plate frame and a separate black plastic mounting bracket are shown against a white background.]()
Step 2
This SnapPlate ships with the plate mount and base as separate parts, so jump to the Plate Height Adjustment instructions to attach it at your preferred height before you install the license plate. 👇
-
![A close-up of a screwdriver tightening a screw on the corner of a California license plate.]()
Step 3
Install your license plate using four of the included black or silver washer-head torx security screws.
-
![Front view of a black mounting bracket with an orange downward arrow pointing to the central slot.]()
Step 4
Align the SnapPlate with the top, center vertical bar in the grille.
-
![A black mounting bracket with a vertical base and horizontal arrows pointing outward from the sides, and an upward arrow below the base.]()
Step 5
Firmly push the SnapPlate into the grille.
Note: The sliding latches should move open as it slides in and the internal magnets should pull them back closed to grab onto both sides of the grille as it is fully seated.
-
![Two close-up views of a black latch: the left side shows it not fully closed with a red thumbs-down icon, the right side shows it closed with a green thumbs-up icon.]()
Step 6
Important! Push both latches towards the center of the grille and check that they are fully closed to secure the SnapPlate.
Note: Depending on how tight the fit is adjusted on the grille, the magnets may fully close the latches on their own or you may need to help them out with a firm push.
You can fine tune the fit on the grille to your preference by following the Grille Depth Adjustment instructions. 👇 -
![A screwdriver with a yellow handle is turning a screw in a black metal bracket, with an orange arrow indicating the direction to turn.]()
Step 7
Optionally, turn the anti-theft security screws on both sides clockwise (righty-tighty) ~8 turns until they are snug to lock the SnapPlate to the grille.
-
![A screwdriver with an orange handle is turning a screw on a black metal or plastic component, following a counterclockwise direction indicated by an arrow.]()
Step 8
To unlock the SnapPlate, turn the security screws on both sides counter clockwise (lefty-loosey) ~8 turns until they are flush with the body of the SnapPlate.
Note: The security screws don't need to be fully removed - just loosen them until they're flush with the body of the SnapPlate -
![A black mounting bracket attached to a flat rectangular plate, with three orange arrows indicating horizontal and downward directions.]()
Step 9
To remove the SnapPlate, use both hands to pull the latches away from the center of the grille while you pull the SnapPlate out of the grille.
Important! Don't forget to remove SnapPlates for automated car washes. Most touchless washes are fine, but better to be on the safe side!
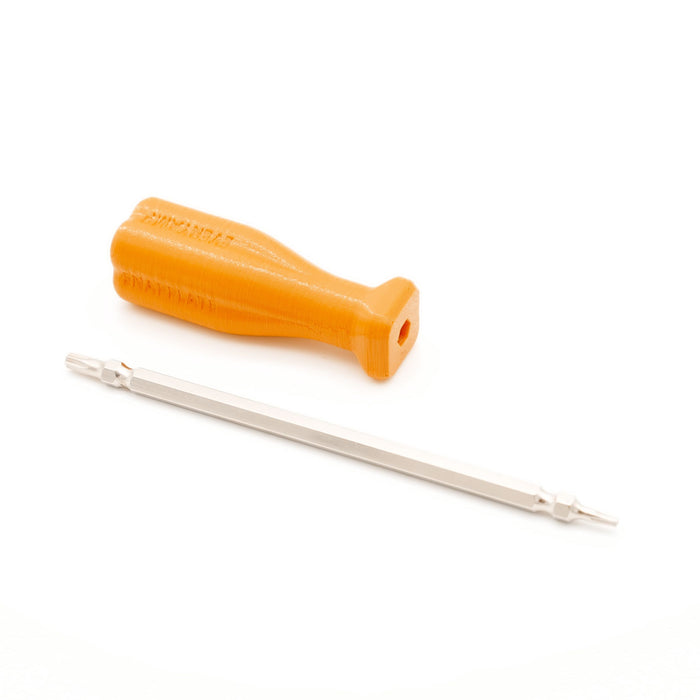


Plate Height Adjustment Steps ➥
-
![Three black metal mounting brackets with rectangular frames are displayed side by side against a white background.]()
Step 1
Plate mounts are adjustable into 3 possible positions.
We recommend high for the best aesthetics or center to avoid the 360 camera. Low looks good from the front, but out of place from the side.
Important! The plate mount blocks the grille depth adjustment screw in the center and low positions, so make sure you adjust that first following the Grille Depth Adjustment instructions👇 if you're going lower! -
![A hand uses a yellow-handled screwdriver to tighten screws in a black plastic frame, with orange arrows indicating the direction to turn the screws.]()
Step 2
If the plate mount is currently attached to the base, remove the two screws holding the plate mount to the body.
If the plate mount is not currently attached to the base, retrieve the two longest screws from the hardware kit.
For installation in the high position go to Step 3.
For installation in the center position go to Step 4.
For installation in the low position go to Step 5. -
![Black rectangular license plate bracket with two mounting slots and orange clips at the bottom center.]()
Step 3 (High)
Attach the base to the plate mount with the screws in the bottom holes.
Once it's attached, return to Installation instructions Step 2. ☝️ -
![Black rectangular metal mounting bracket with an adjustable central clamp and two orange arrows indicating rotational movement.]()
Step 4 (Center)
Attach the base to the plate mount with the screws in the center holes.
Once it's attached, return to Installation instructions Step 2. ☝️
-
![Black rectangular license plate bracket with two orange arrows above screws, indicating the direction to turn for installation or removal.]()
Step 5 (Low)
Rotate the plate mount 180 degrees to attach the base to the plate mount with the screws in the top holes.
Once it's attached, return to Installation instructions Step 2. ☝️


Grille Depth Adjustment Steps ➥
-
![A close-up of a screwdriver being used to turn a screw in a black metal or plastic bracket, with an orange arrow indicating the turning direction.]()
Step 1
To tighten the fit on the grille, turn the adjustment screw clockwise (righty-tighty) ~2 turns until it is snug.
-
![A close-up of a screwdriver with an orange handle tightening a screw into a black metal or plastic bracket.]()
Step 2
To loosen the fit on the grille, turn the adjustment screw counter clockwise (lefty-loosey) ~2 turns.
Note: The screw doesn't need to be fully removed. Just loosen it until it's flush with the body.


Loading...
EveryAmp
| SKU:
SPR22027US
$120.00
$134.97
Why it costs less here
When you buy direct from the manufacturer, we pay lower fees and pass those savings on to you.
Low price guarantee
If you find a lower price, show us and we'll match it.
Unit price
/
Coming Soon
Shipping calculated at checkout.
SnapPlate Front License Plate Mount for Rivian R2 - 2027 is backordered and will ship as soon as it is back in stock.