When I had my Model S I was able to use mirror taps in order to provide switchable 12V power from behind my rear view mirror. With the Model 3 radar installation there are more limited options to obtain switchable power.
I decided to hard wire mine to the drivers side foot well area. There is a 6 pin connector with an empty port available which provides a switched 12v power source. By being a switched source it will turn on the radar detector whenever the vehicle is "ON" and disable power with the vehicle is "OFF."
Another option is to use the standard "cigarette lighter" port. This is more of a temporary install but can be useful in a pinch. We heard reports that firmware version 2019.8.5. has change the 12v plug to constant on. Thus, another reason to utilize this hard wire method instead.
This install utilizes a Valentine One (paid link) radar detector and Blendmount mirror mount. However, this installation method can be used with nearly any other radar configuration. A popular alternative to the Valentine is the Uniden R3 (paid link).
An install video will be coming soon as well! Make sure you've subscribed to our YouTube Channel to be notified when it's released.
Parts Lists
Compatible with: Escort, Beltronics, Valentine, Uniden, Radenso


- Valentine One (V1) Radar Detector (paid link) (Our Radar of Choice)


Tools Needed
- T20 Screwdriver
- Wire Crimper for 5mm spade
- 8mm Socket
- Trim Removal and Pry Tools (paid link) (Optional Aid)

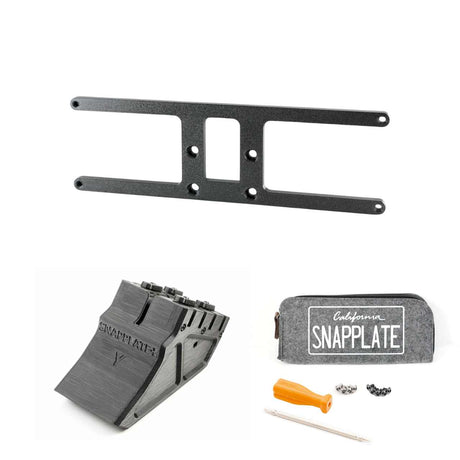
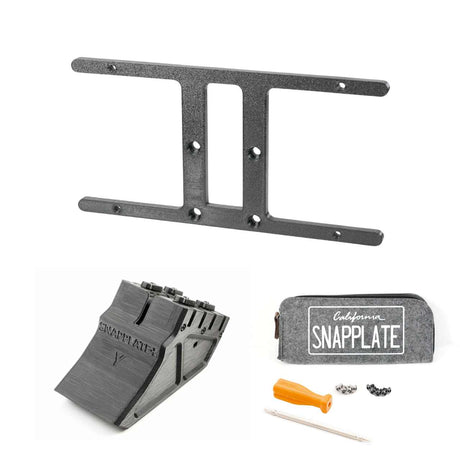
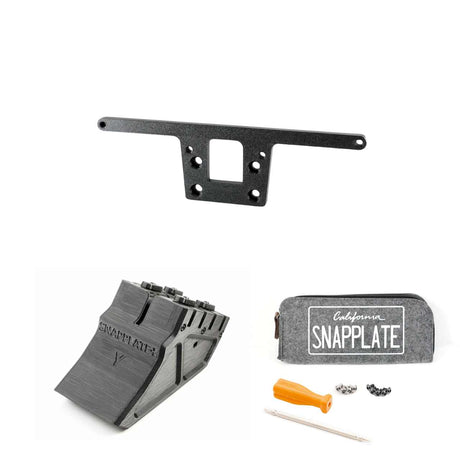
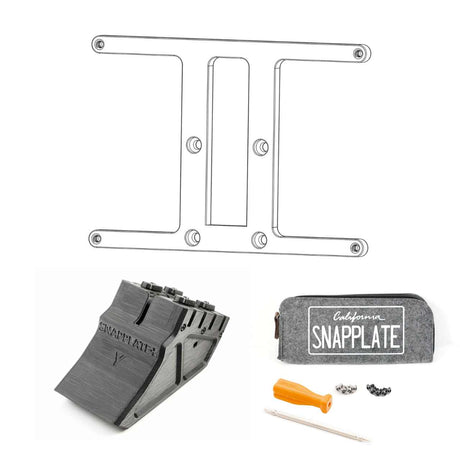
This is my first time using the Blendmount and I’m very impressed. This is an all metal bracket that mounts firmly to your rear view mirror. It has adjustments in nearly every direction so you can position it just how you like it. No more suction cups falling off the window or sun visor clips out of your normal field of view. It also makes for a clean install right in line with your normal eye sight and well in reach for a quick Mute button press when needed.
The Install
You'll want to start your install from the final mount locations and work your way back to the power source so you can tuck your extra cable there. For the mirror mount option I removed the plastic housing around the rear view mirror so that i could hide my cable in there and pop out right next to the radar.
You'll want to use a soft pry tool or electrical tape around a flat head screw driver (cheap trick) and pry around the lower housing closest to the mirror pivot. Starting at lower portion of the mount as shown below.

Next loosen the upper mount by prying it from the lower corners as well. I found that i did not need to completely remove the trim in order to route my wires to the headliner which saved me from having to remove the mirror and trim completely.

Fish your power wire through the openings and up into the headliner. There is some room in the lower mirror mount section to stuff some extra slack so be sure to give yourself enough to plug in the cable.


Next you'll gently press the cable into the gap at the top of the headliner and window. Again a soft pry tool helps here too. When you get to the corner there's two paths you can take. I chose to continue my path out to the door gasket area and stuff the cable between the headliner and pillar.


The trim piece below simple pulls out by gently pulling from the top.

I routed the remainder of my cable into this area, near the power source. I did also remove the lower door trim during my install. It's not required to do so but i did find it helpful for accessing my power source as it is not in an easily accessible area. If you choose to do that as well just remove the one push pin rivet below the bolts and then slowly pry the part up from all the fittings.

To access the power the foot well area you will need to remove the two top panels. The first is right above the dead pedal. You will need a T20 screwdriver to remove the screw. There's also hold rivets which can be removed by pulling the center tab out.

Unplug the connector to the light.

Use a flat head screwdriver to release the connector below.

Next remove the 4 bolts and T20 screws holding the upper panel/airbag in place. You can use a standard 8mm socket wrench.


Once those bolts are remove gently pull the remaining fixed clips free.

Power Source
Caution: Before installing the cable I'd recommend removing the in line fuse of the radar power cable and/or ensuring the other end of the cable is not installed into your radar detector.
You can use any metal source attached to the frame for a ground or negative attachment. I chose this bolt which also fit the pre-installed ring connector.

There is a white 6 pin connector in the upper left when looking toward the side fender from this opening under the foot well.
Note: At some point in late 2019 Tesla started using this empty pin and thus requiring a splice or alternate power source.

You will need to replace the connector on your cable with the 5mm female spade to use this plug.
Insert the new cable into the middle location as shown below. Make sure you are fully seated into the connector. It took me a few tries and wondering if i did something wrong to realize it wasn't fully seating in there. It's not easy to get to but it's doable.

Don't forget to reinstall the fuse :)


